16/06/2010

A synchronous Clementa

*
I have found a mains driven Clementa in rather poor condition. The brasswork is corroded and the hardwood surround is stained. Believe it or not the entire dial is laminated and turned hardwood. Sadly, it must have been stored somewhere damp.


 The dial with solid brass Roman numerals. There is rather a lot of staining to the hardwood surround suggesting rain may have collected there.


The dial without the hardwood centre and motor.


 The mains synchronous motor is concealed within the protective can. The motor is typically non-self starting. This avoided confusion over the correct time if there should ever be be an interruption to the mains power supply. Had the clock restarted the owner would have been completely unaware that the clock showed the wrong time. When these clocks were new they would probably be the only reliable form of timekeeping in the house. A fine pull-cord passes into the can to start the motor. A hand setting knob is also provided in the side of the can.


 This heavy Bakelite case never saw a Telavox torsion pendulum movement. Though this is the same case as used on the Telavox drum clocks. Perhaps it was a matter of economy to use up existing Bakelite cases? These Bakelite cases were very early in Telavox production history. (around 1942)


 The typical Telavox-style, steel backplate closing the rear of the Bakelite case. Note the obscuring cloth typical of Telavox clocks.Since it has never been perforated at the centre one can assume that no hand setting knob was ever used with this particular case.


The back of the turned wooden dial. Turned from solid hardwood laminated from separate pieces glued together. This must have been rather a costly exercise. The perforated decorative brass rim and cloth covered backplate suggests sound should be allowed to escape freely. Yet no striking mechanism is present.


Click on any image for an enlargement.
*

10/05/2010

Telavox Service Instructions

*
PLEASE NOTE: My intention was to translate these Danish instructions into English. However the pages are images rather than text. So it is very time consuming to translate by jumping back and forth between the images and  a text formatting software. I shall persevere, as time allows, but patience will be required. The highly technical nature of the printed descriptions adds to the problems in translation. 
__________________________________________________

These Danish Telavox Service Instructions were kindly sent to me by Bjarne Jensen. Proprietor of the Funder Radio and railway museum near Silkeborg in Denmark:

Funder.Nr.Hede Banen & Funder Radiomuseum -

I will try to translate the text pages into English as time allows. Though the complexity of the movement and the very long parts list may defy my best efforts to give them correct (horological) English names.

I have resized the original scans, which were kindly provided by Bjarne, to avoid large downloads for those browsing the Telavox blog. With so many illustrations it is inevitable (and unavoidable) that some chapters will be slow to download on a slow internet connection. Having always had a broadband connection, with steadily increasing speed over time, I tend to take fast downloads completely for granted. If you are on a very slow connection and pay for bandwidth then I suggest that you don't enlarge images unnecessarily.

Page order is only provisional at the moment. Since the pages are not numbered I have put them in numerical order as they were sent to me.  I shall try to improve the layout of this chapter over time.

As I have been looking for Telavox service instruction for over ten years I am very grateful that Bjarne has shared these instructions with me. Hopefully others will find them valuable in adjusting and maintaining their Telavox clocks once they have an English version.

Cover page. Telavox Electric Clocks Service-Instructions.


SERVICE INSTRUCTIONS for TELAVOX ELECTRIC CLOCKS.


The Telavox Factory in 1936. Just 6 years prior to clock production which started during the German occupation of WW2. 


Description of the clock mechanism's function.


Adjustment of clock contacts.


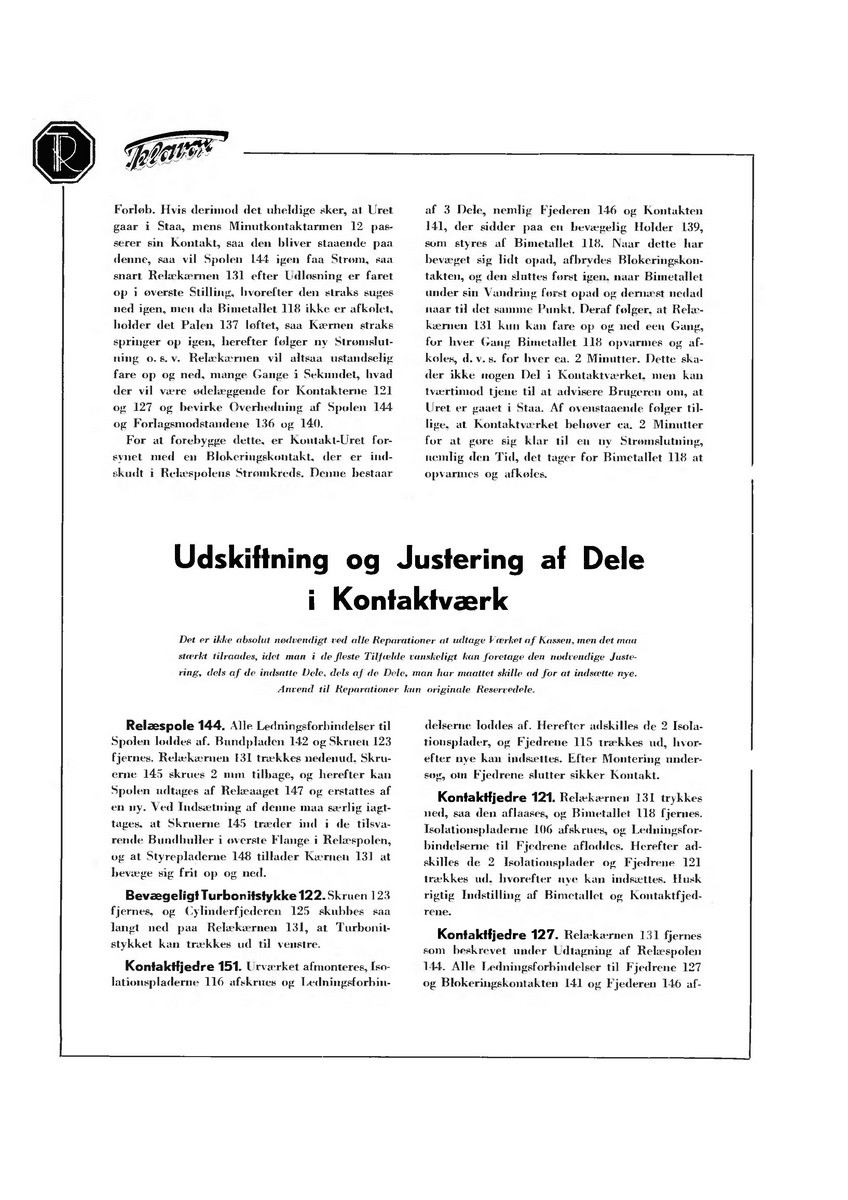
Function of the contact works.


Parts list for the clock mechanism.


Labelled Illustrations of time switch movement 1 and 2 follow.


Time switch movement 1.


Time switch movement 2.


Rear of Telavox time switch case and back plate.


Dismantling, Cleaning and re-assembly instructions.


Add caption


Service Instructions.


Illustration of contacts Figures 3 and 4 follow.


Time switch mechanism. (labelled)


Time switch backplate (labelled)


Removing and adjusting of contact parts.


Diagrams of the time switch contact mechanisms. 


Changing the contacts.


The early, non-striking Telavox movement with labelled parts.


New construction of the contact mechanism.

Click on any image for an enlargement.
*